Magic Mirror
For Christmas this year, I was trying to come up with something unique for my girlfriend. After some hemming and hawing, I decided to create my own Magic Mirror, in the style of Michael Teeuw (turns out I wasn't the only one who was inspired by Michael. One small twist - the giftee specifically requested a full-length mirror, of which we are in need, which required a little creativity.
Step 1: Roughing The Design & Finding The Screen
After some initial research, I sketched out a design based on the simple and clean aesthetic of this DIY walkthrough I found.
Once I had an idea of what I wanted it to look like, I determined that the size of the screen was what would ultimately shape the rest of the mirror. At first, I was considering using a lower-resolution TV we've had collecting dust in the basement, but I decided I really wanted a nice-looking screen to go into this.
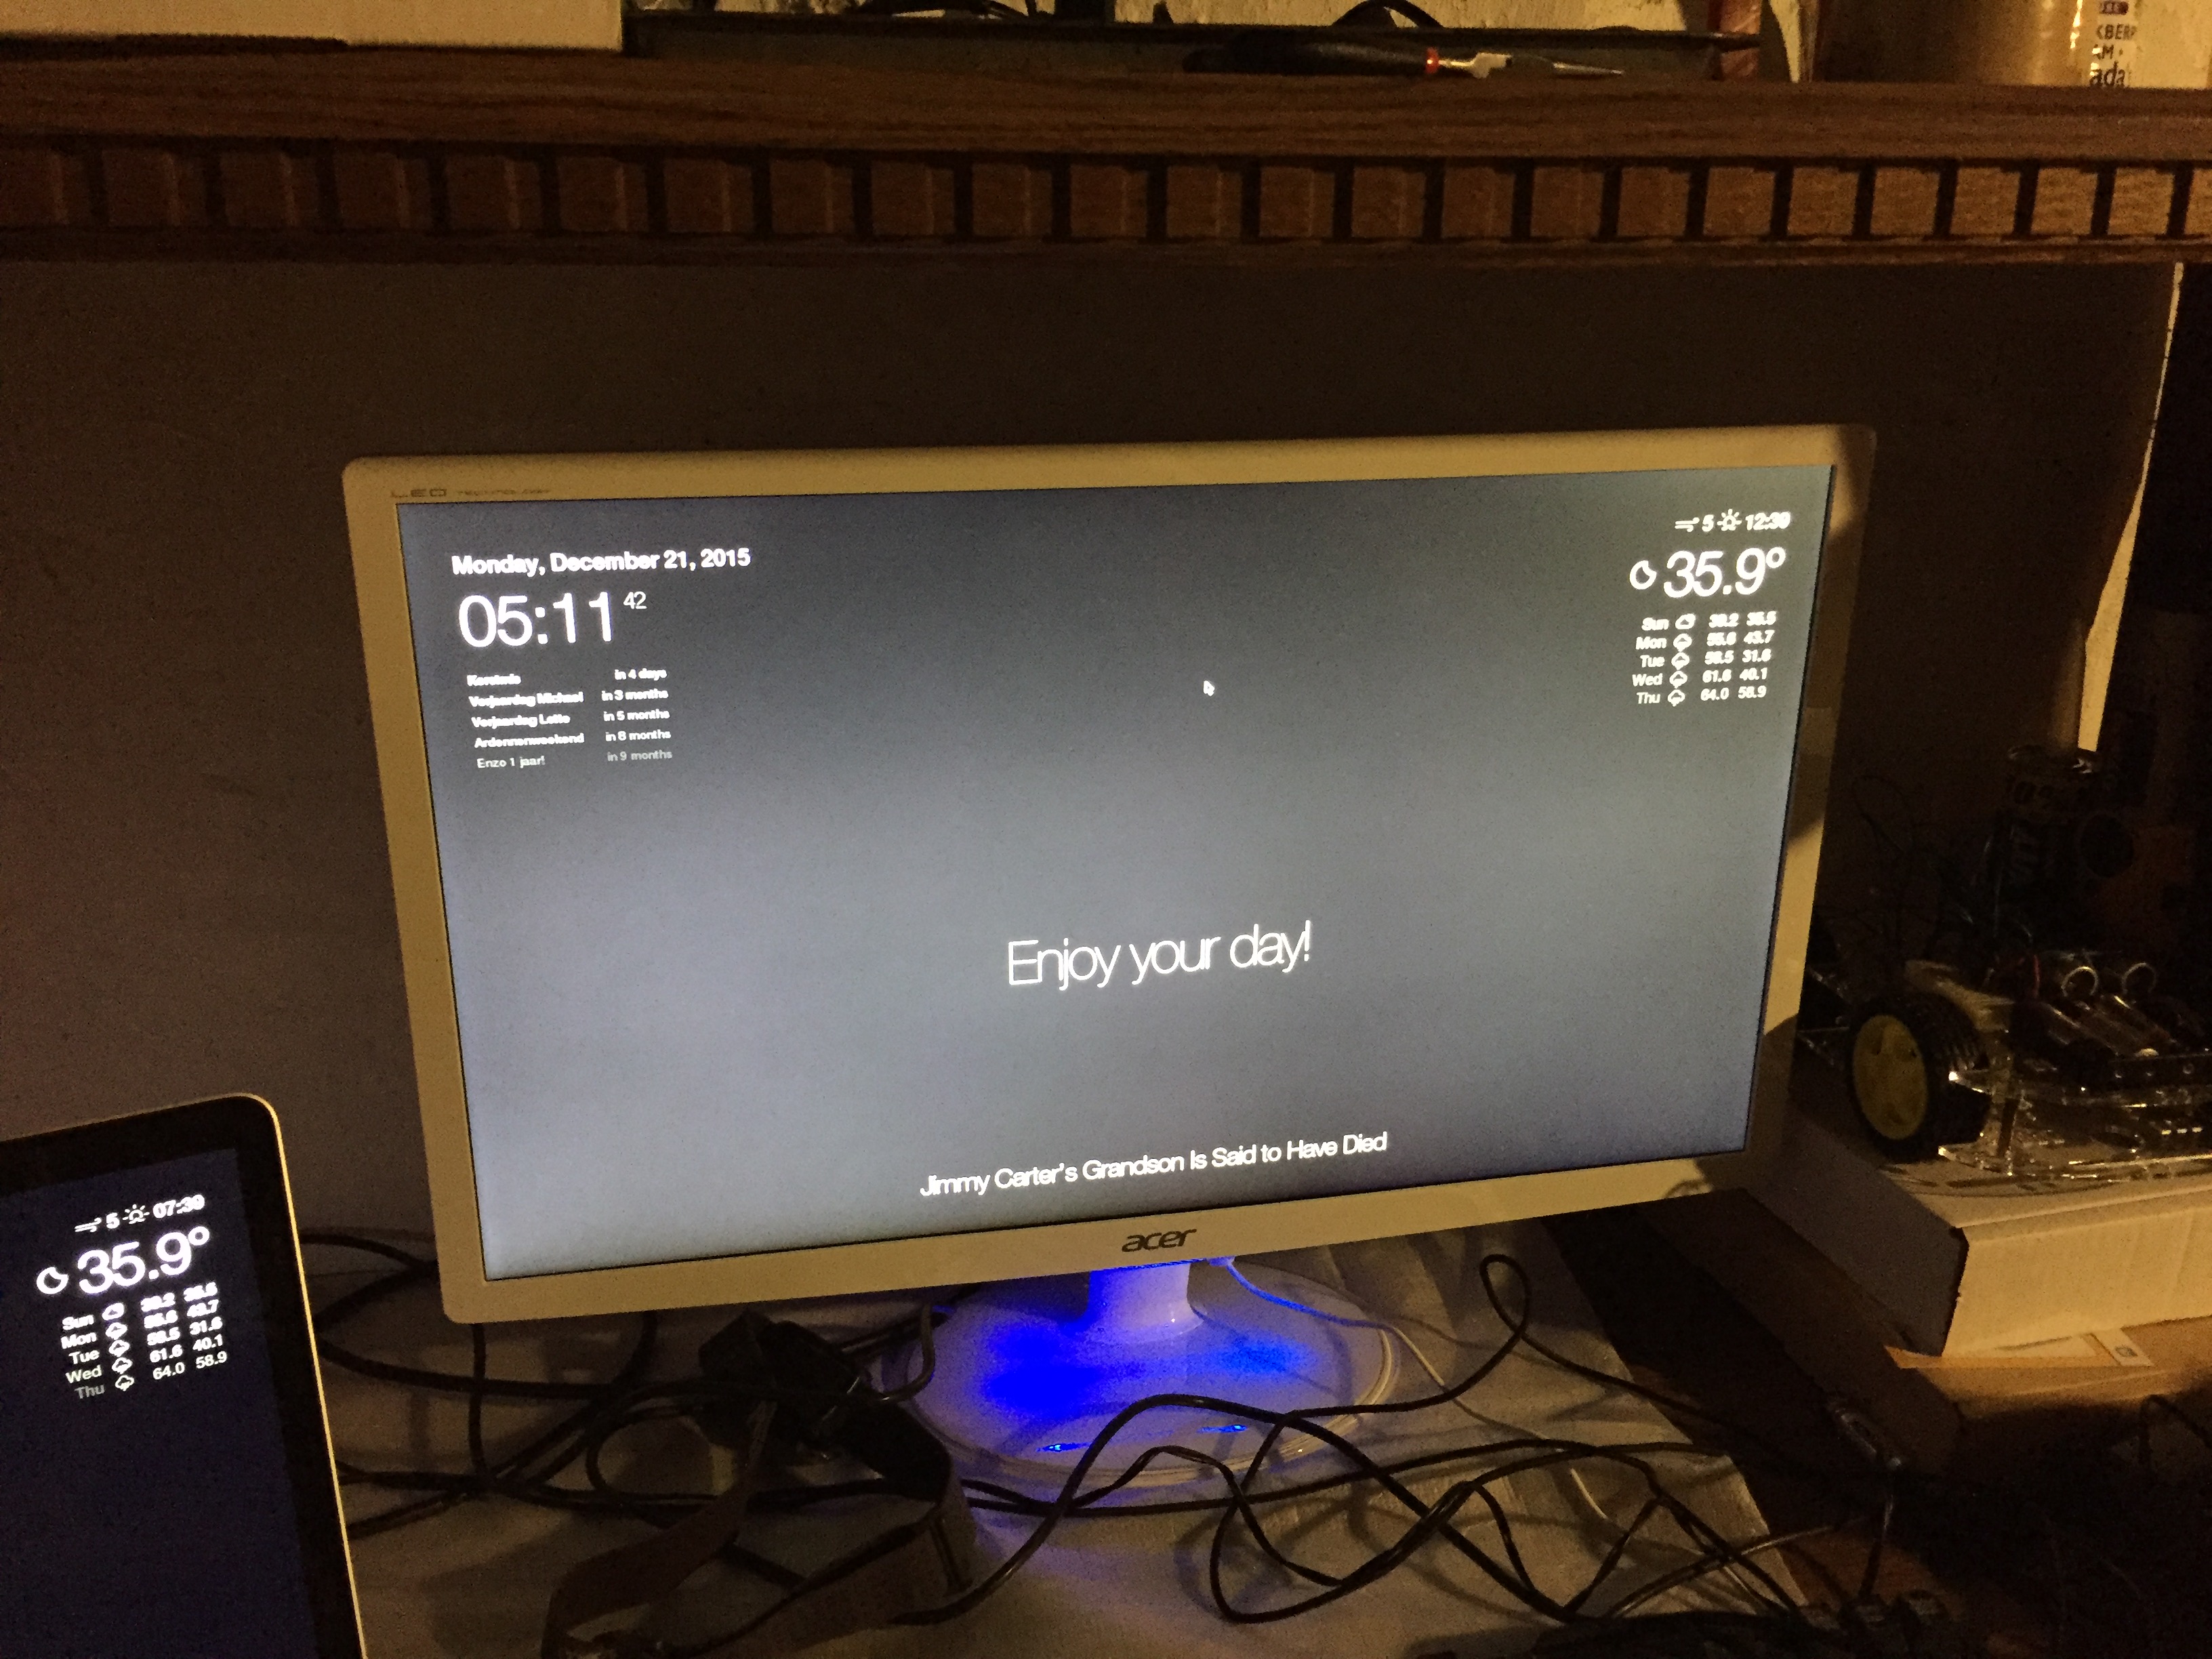
I settled on a 24" Acer S242HLbid LED panel I found on Craigslist for $100.00. Once I had the screen and the design, it was time to figure out how it was all going to come together.
Step 2: SketchUp
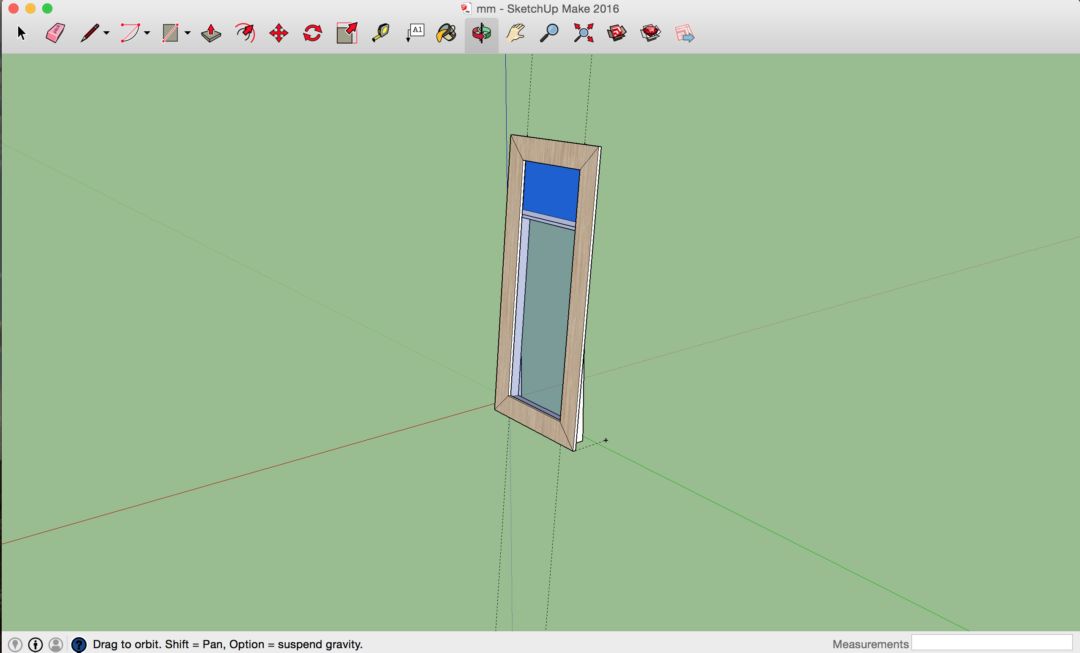
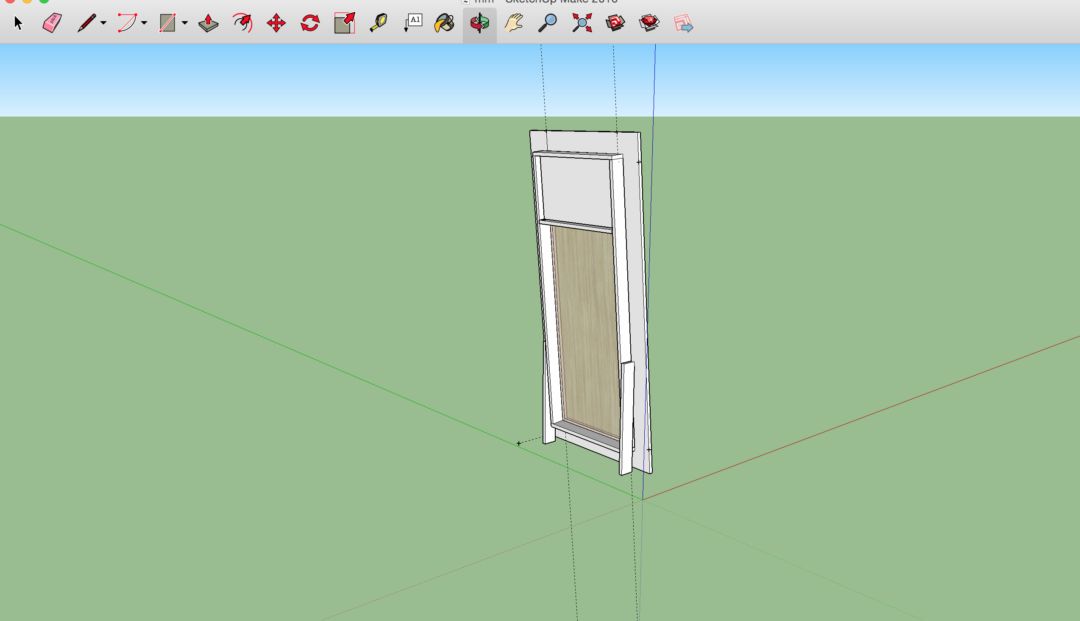
I didn't want to cut any corners, so I modeled everything out in SketchUp first. This was my first time using SketchUp, and I can't encourage you enough to use it for your next project; it was a lifesaver (and it's free!). I referenced my model constantly. It was great to be able to measure any piece of the design on-the-fly and be fully confident in the numbers I was using - I've been burned by smudged ink and guesswork in the past.
I stayed pretty true to the design I laid out in SketchUp. I did ditch the legs, at least for the time being.
Step 2: Setting Up The Pi
Once the design was settled, I moved on to setting up the Pi. I already had a B+ lying around with a case and a WiFi dongle, so it was pretty short work getting things set up. Michael Teeuw has a great step-by-step to get you started, if you're following along at home. My initial setup was pretty vanilla - I just dropped the compliments and calendar.
Next, I configured the Pi to boot Chromium in kiosk mode, pointed to 127.0.0.1, a step which is also covered in Michael's tutorial. With the software in place, I set to work assembling the mirror.
Step 3: Building The Frame
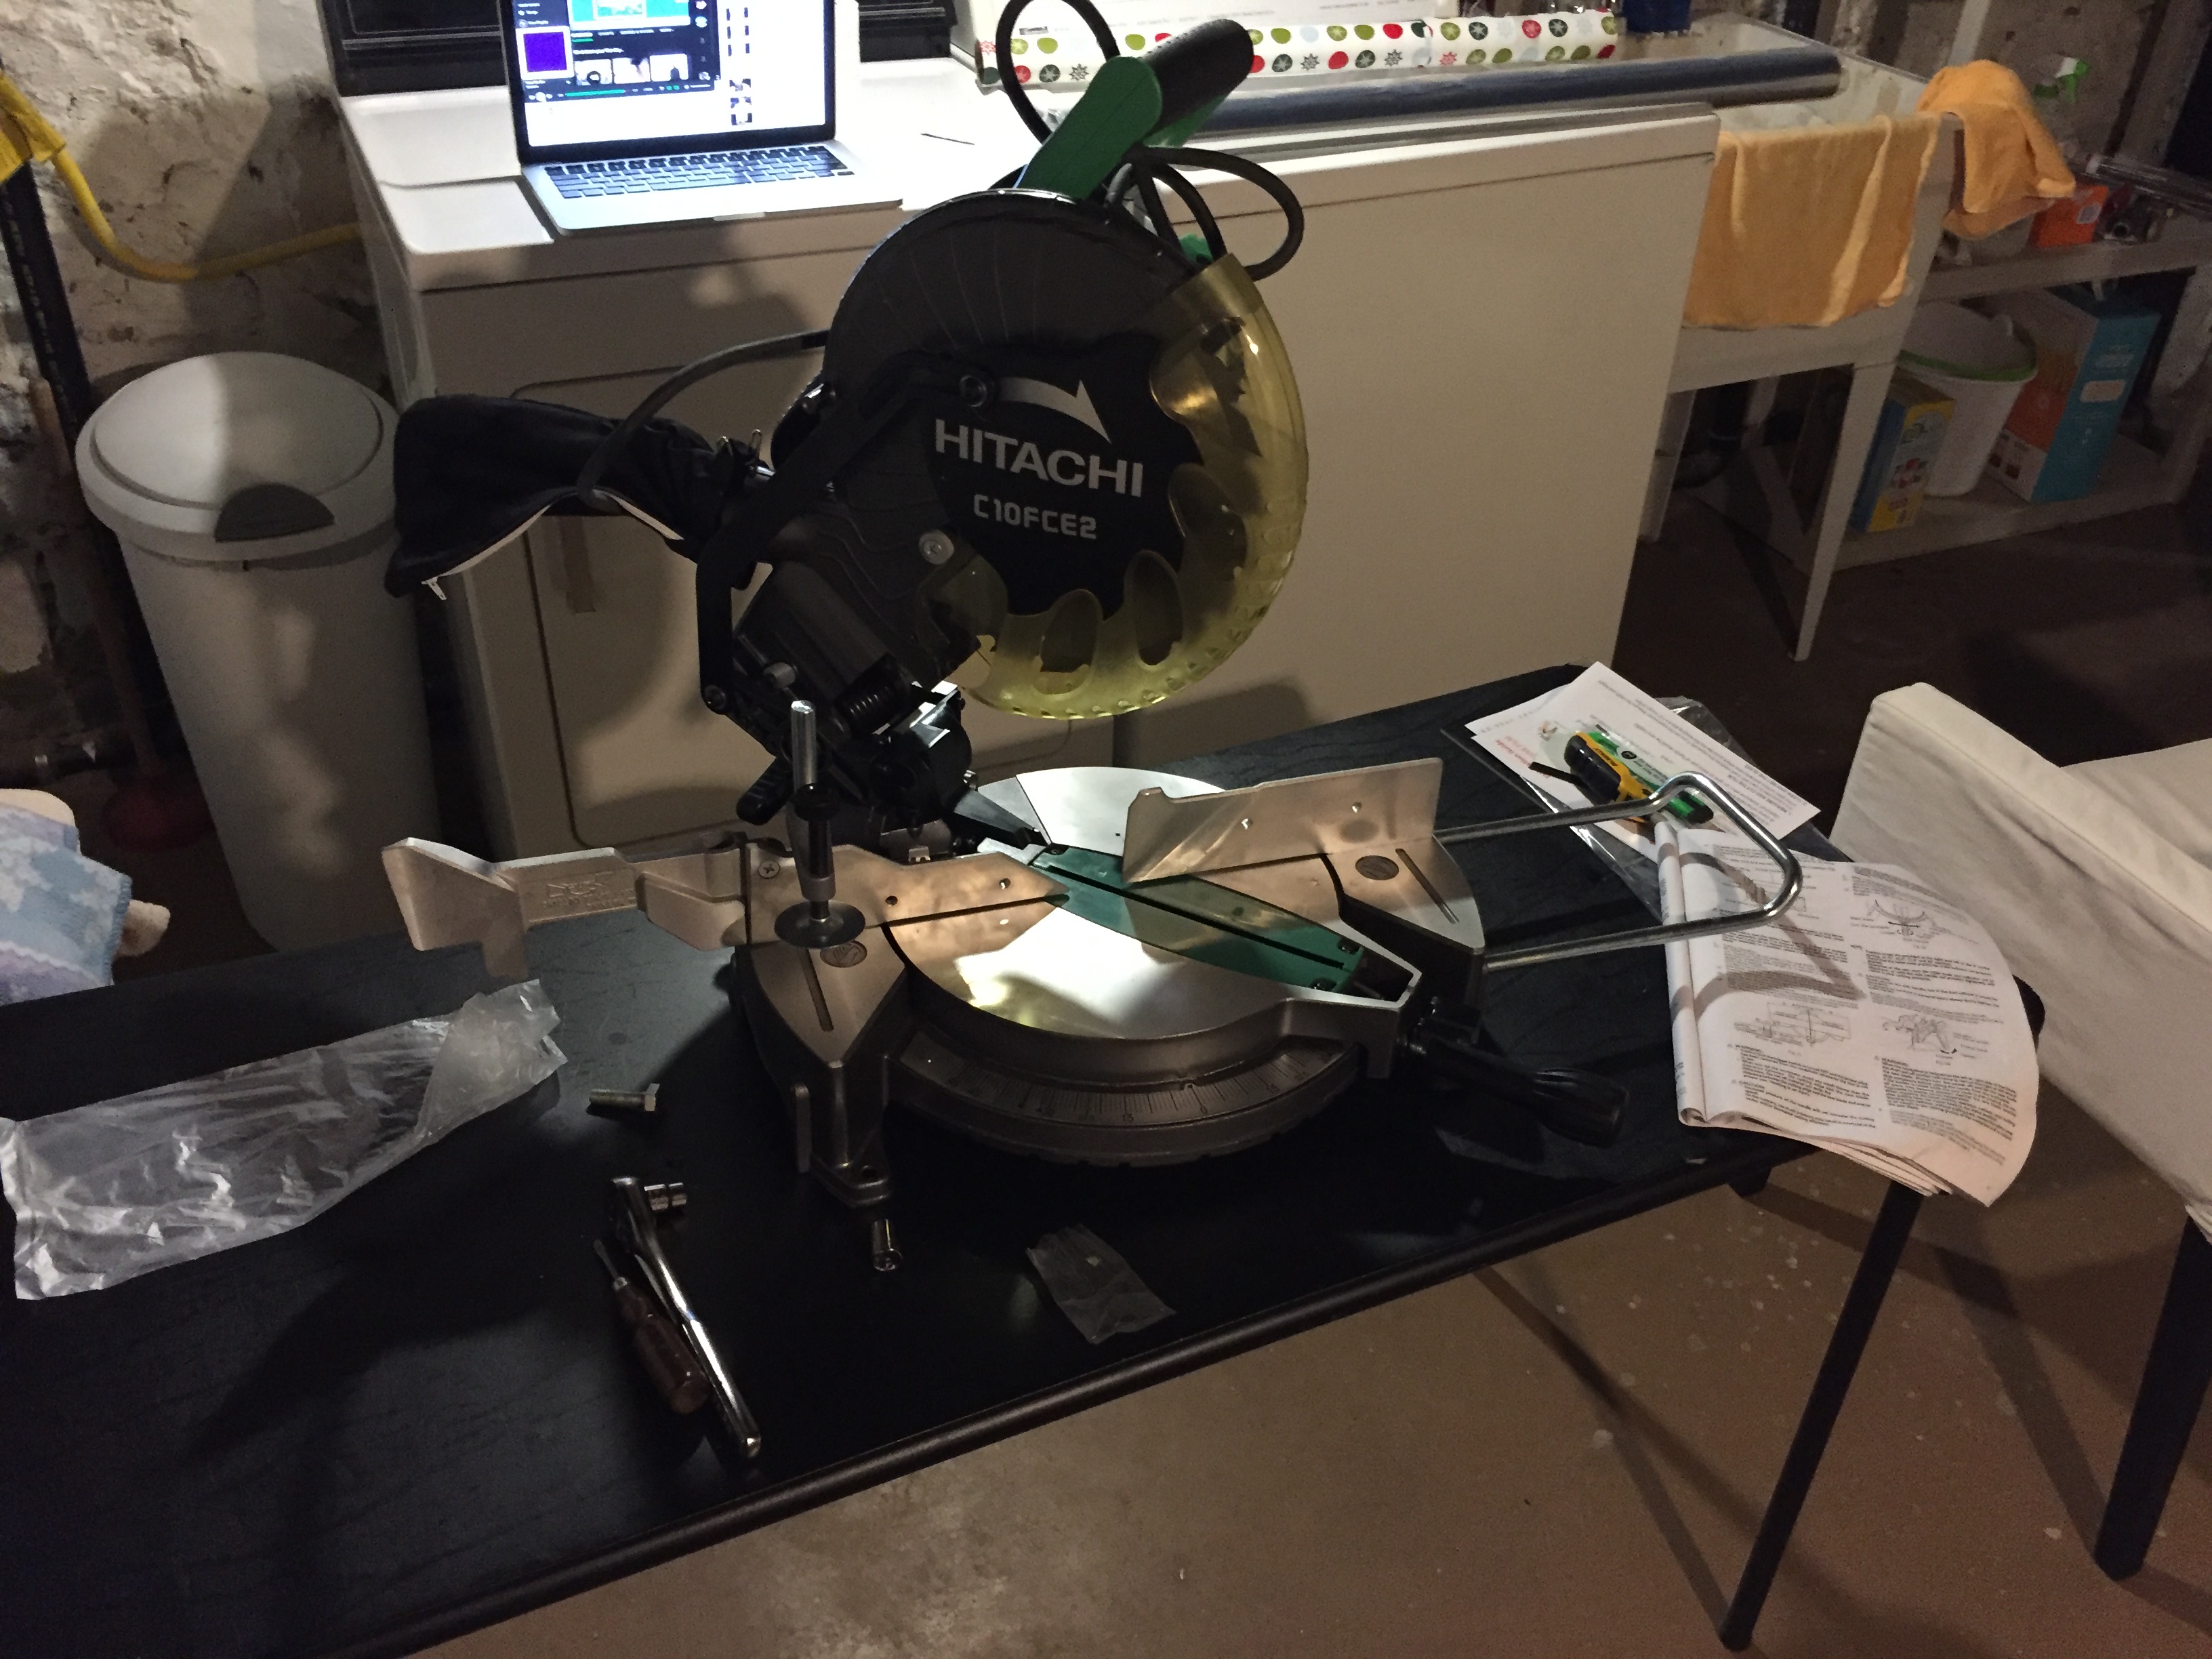
One of the great things about DIY holiday gifts is they make great excuses to buy all the expensive tools you've never been able to justify purchasing. I'd been long in in need of a miter saw, and the 45 degree cuts of the frame demanded nothing less. I decided to go with something on the entry-level side of the spectrum, and picked up a well-reviewed Hitachi saw from Lowe's for a little over $120.00.
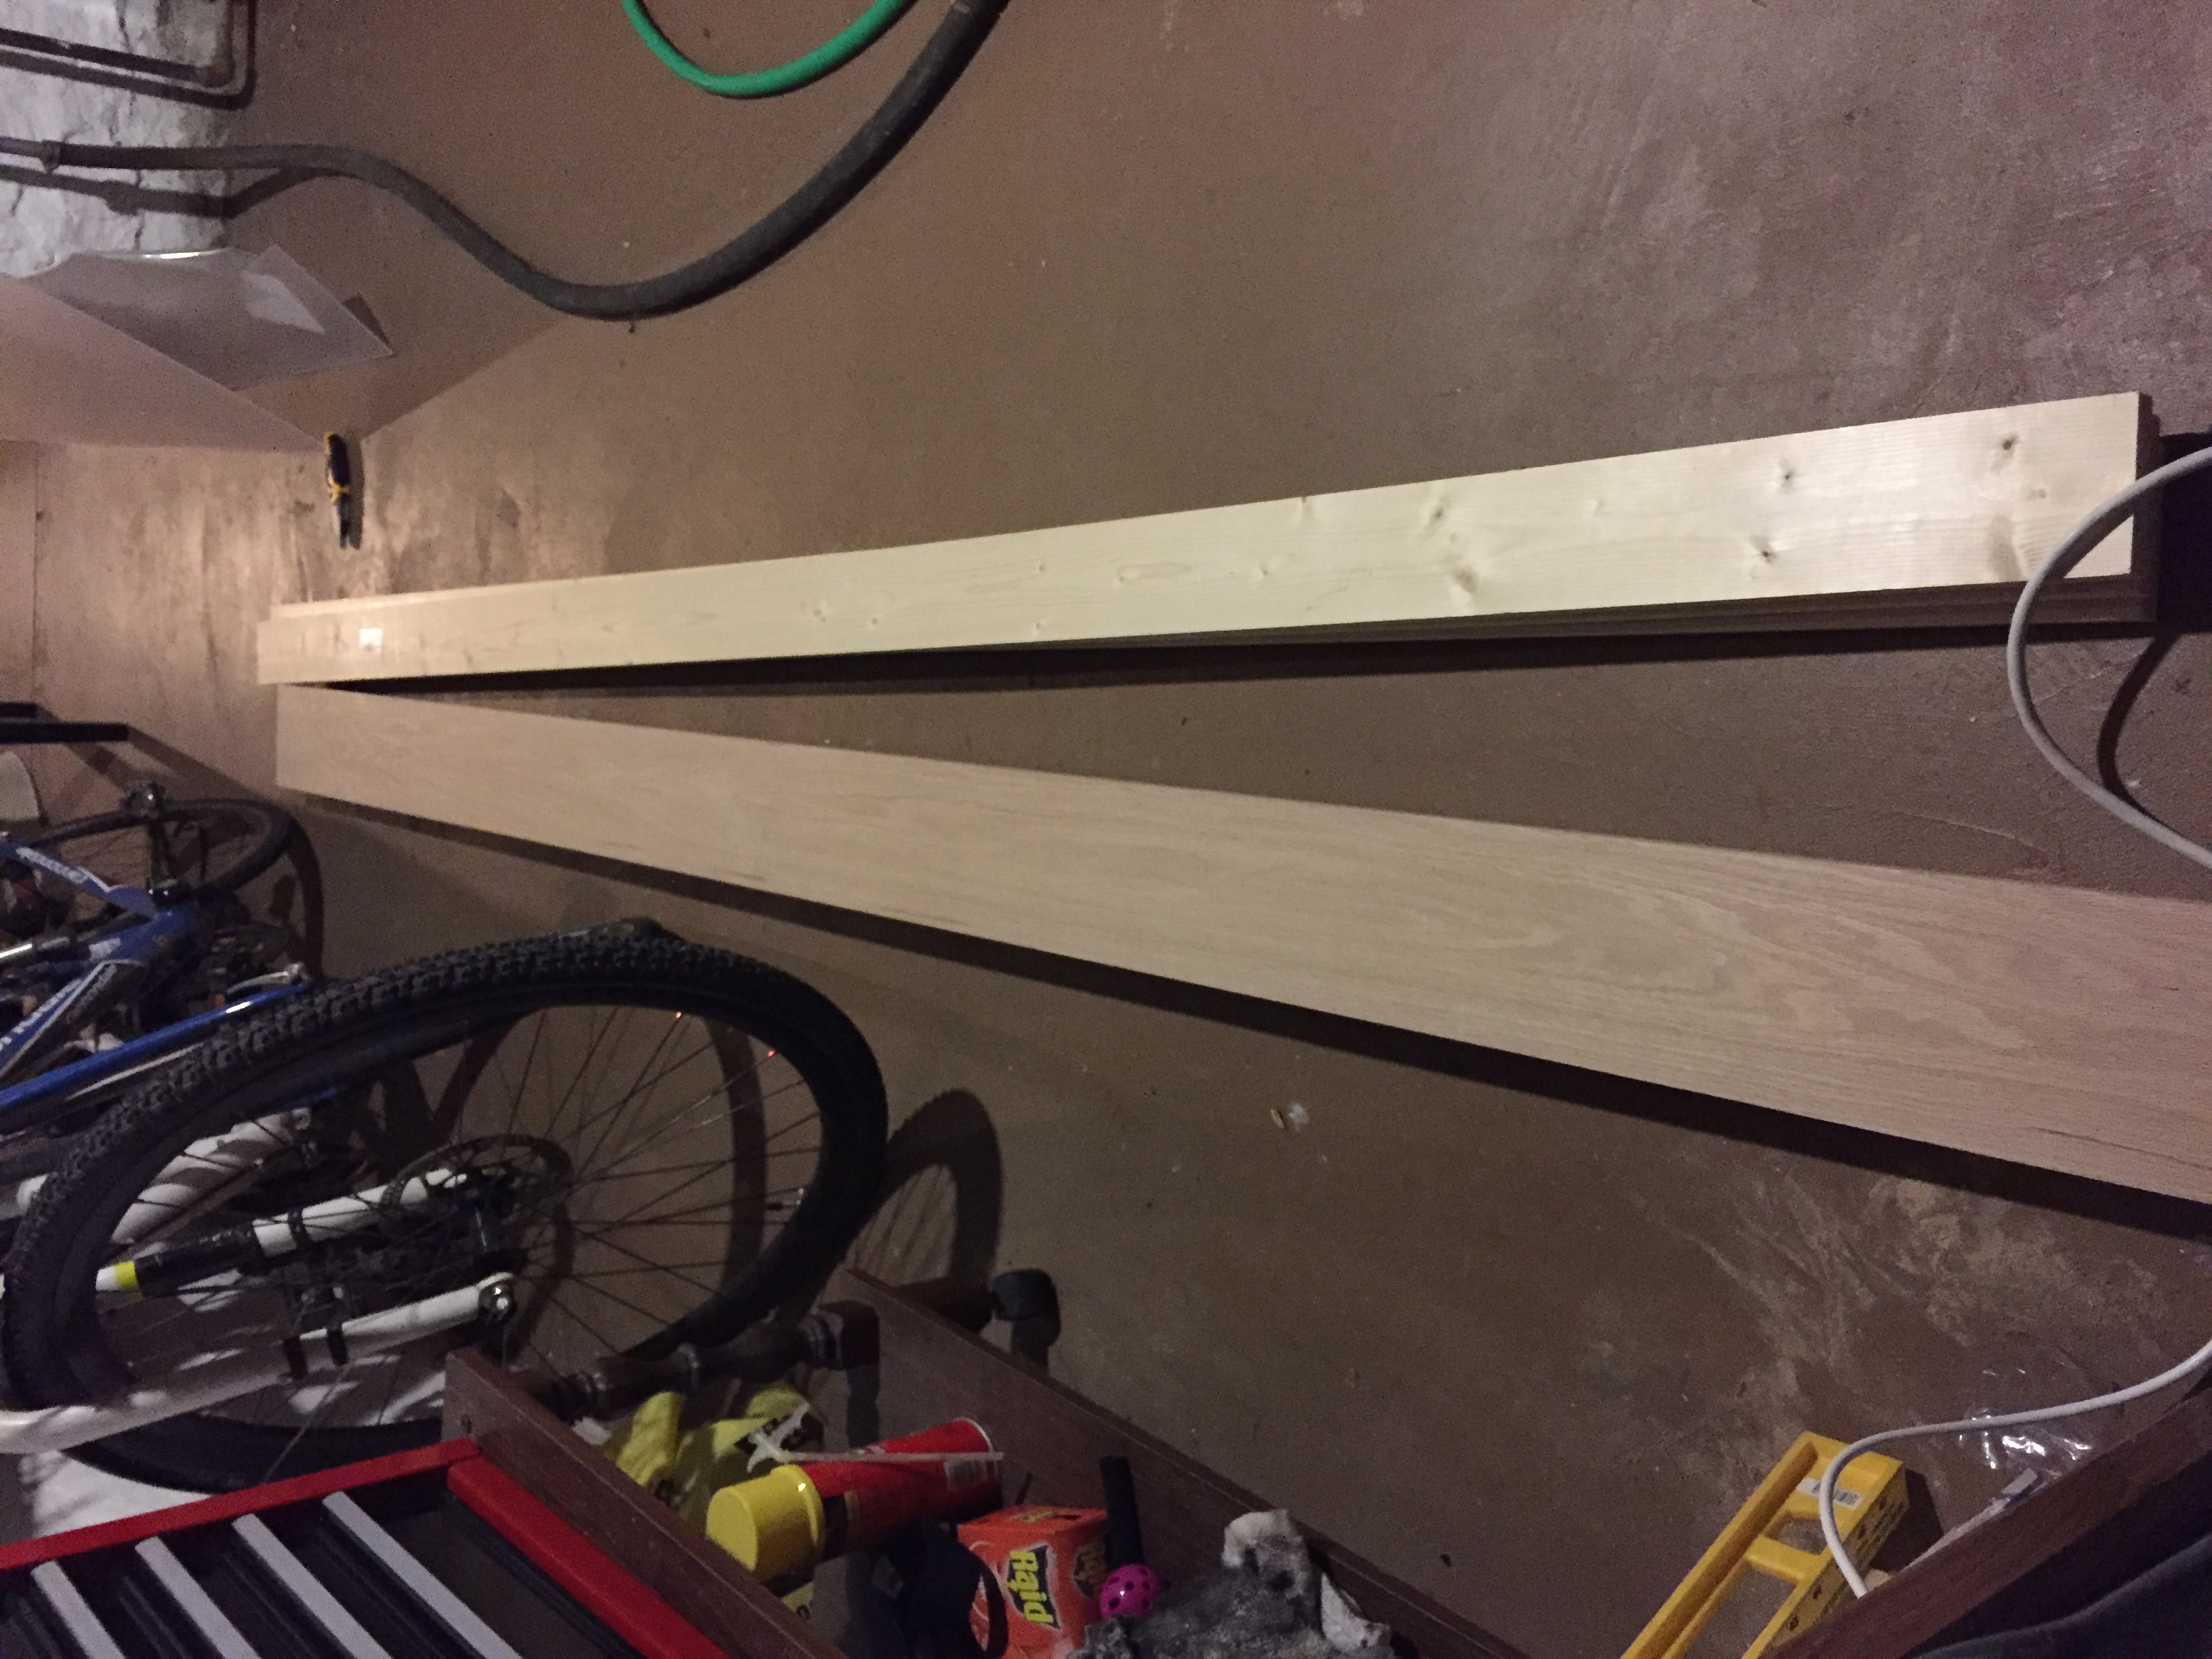
Next, I picked up the lumber for the mirror. Originally I planned on using soft pine for the frame and the support structure in the back, with the ultimate goal of staining the wood in the spring. After some reading, I decided to use oak for the frame instead, as it looks better after staining compared to pine (so I've read, anyhow).
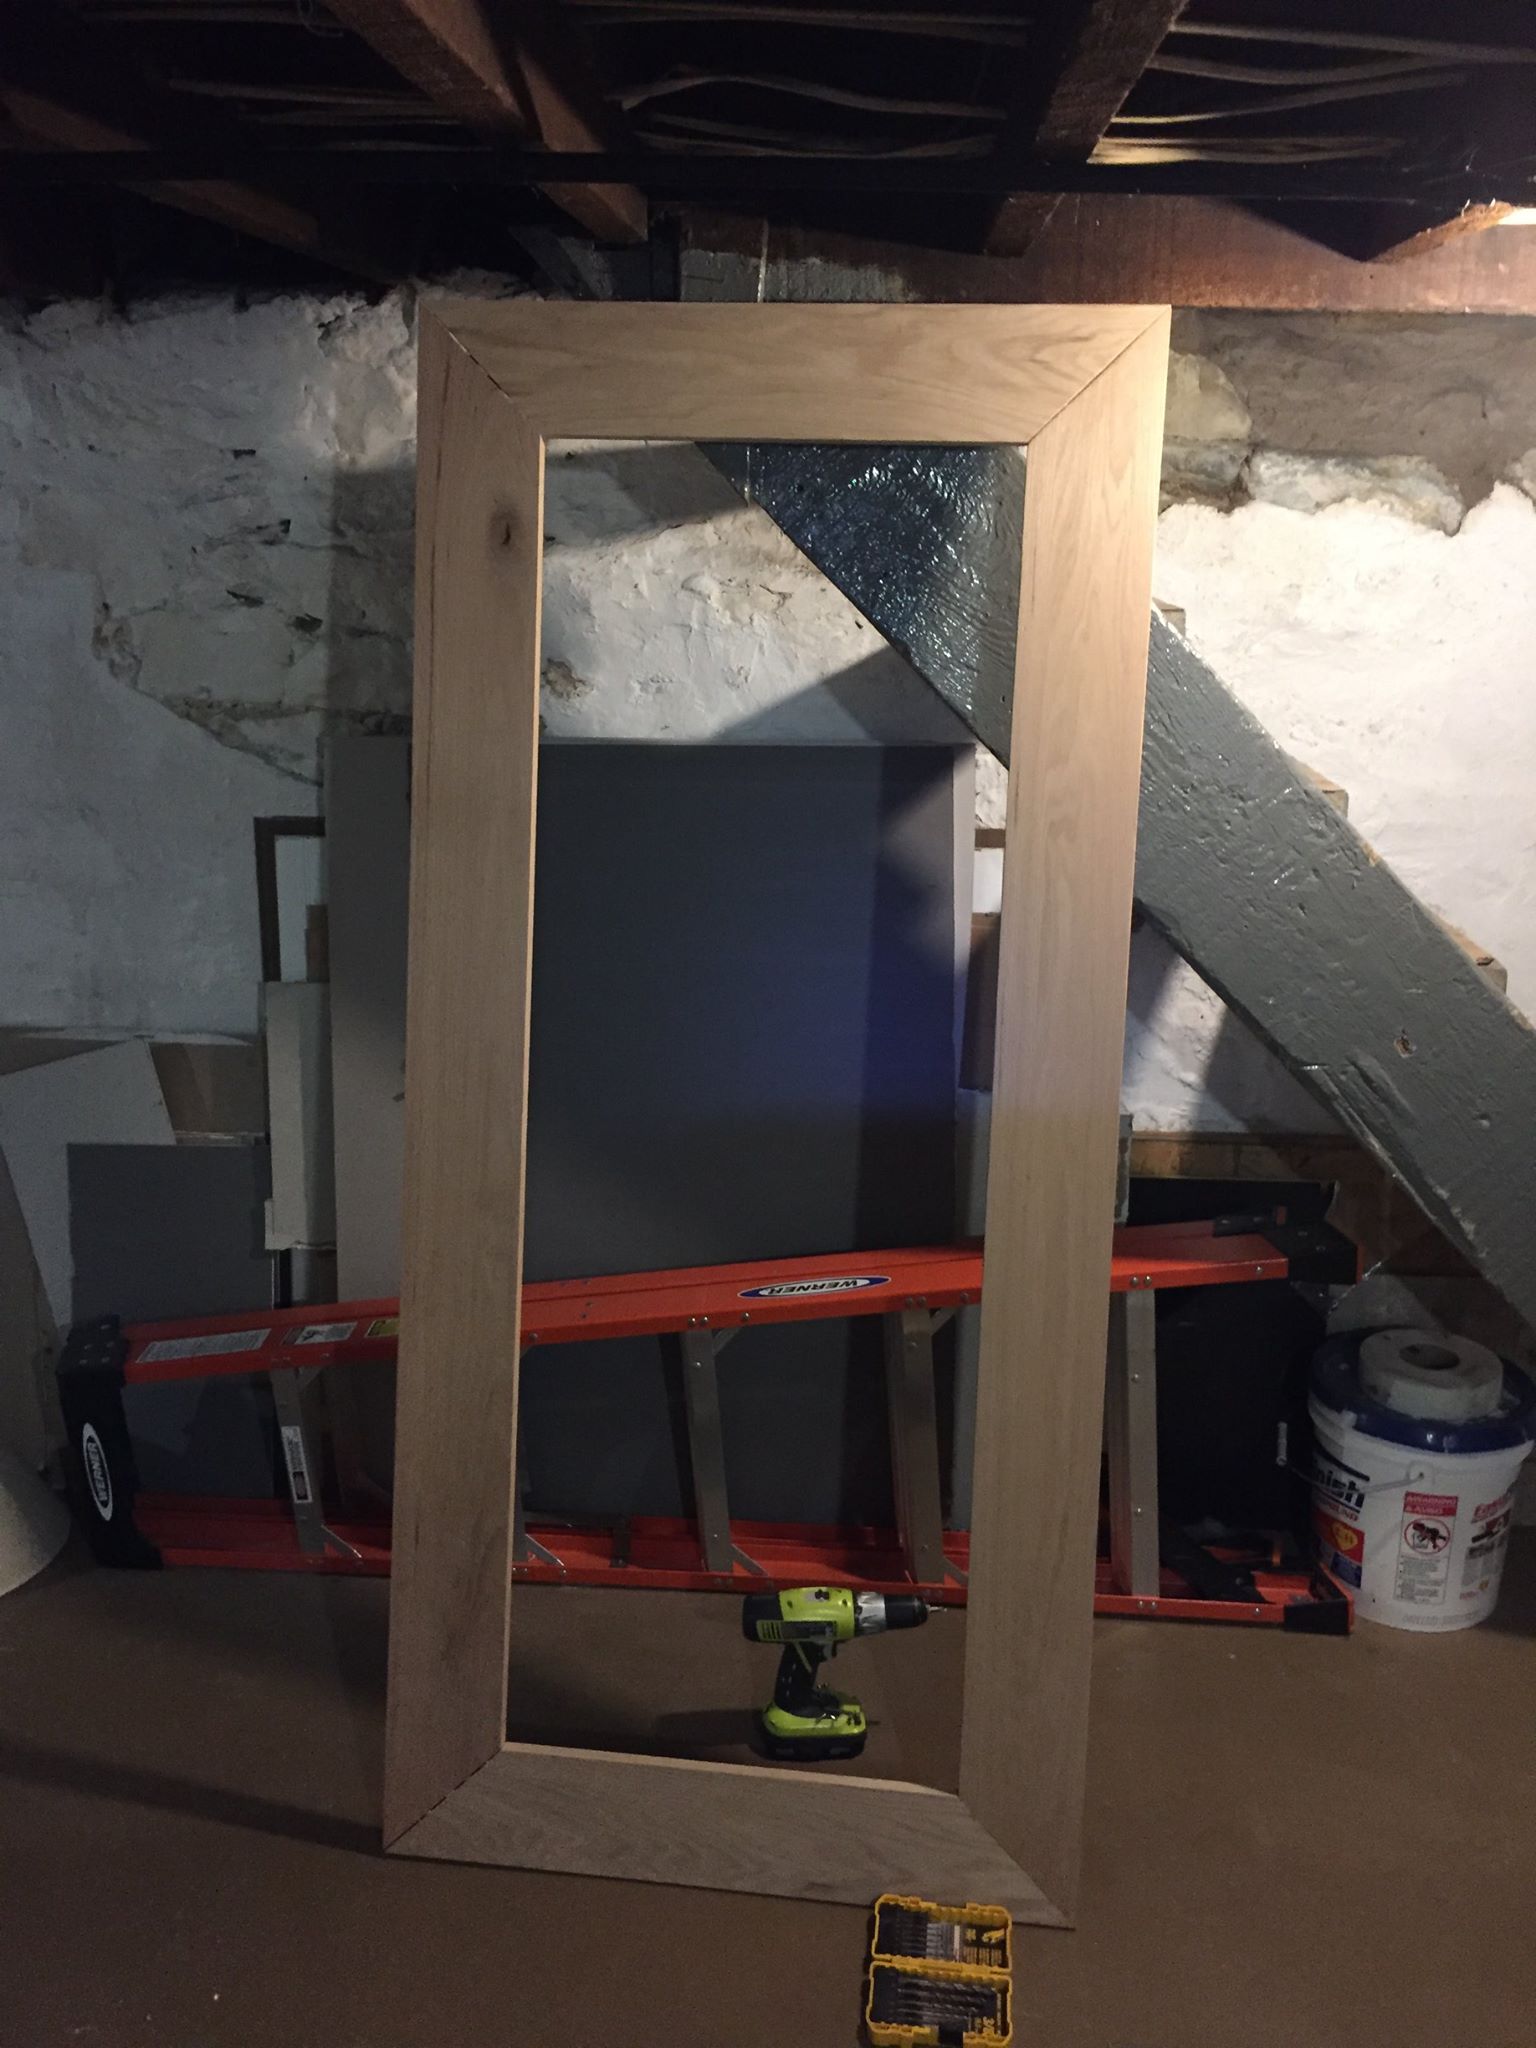
Then I built the frame. The frame itself is held together with wood glue and heavy-duty angle irons. I learned the hard way that oak is incredibly tough, and will happily let you torque the heads right off your screws if you're not careful. Lesson learned. Here's the frame, all assembled and standing up.
Step 4: Making The Mirror & First Assembly
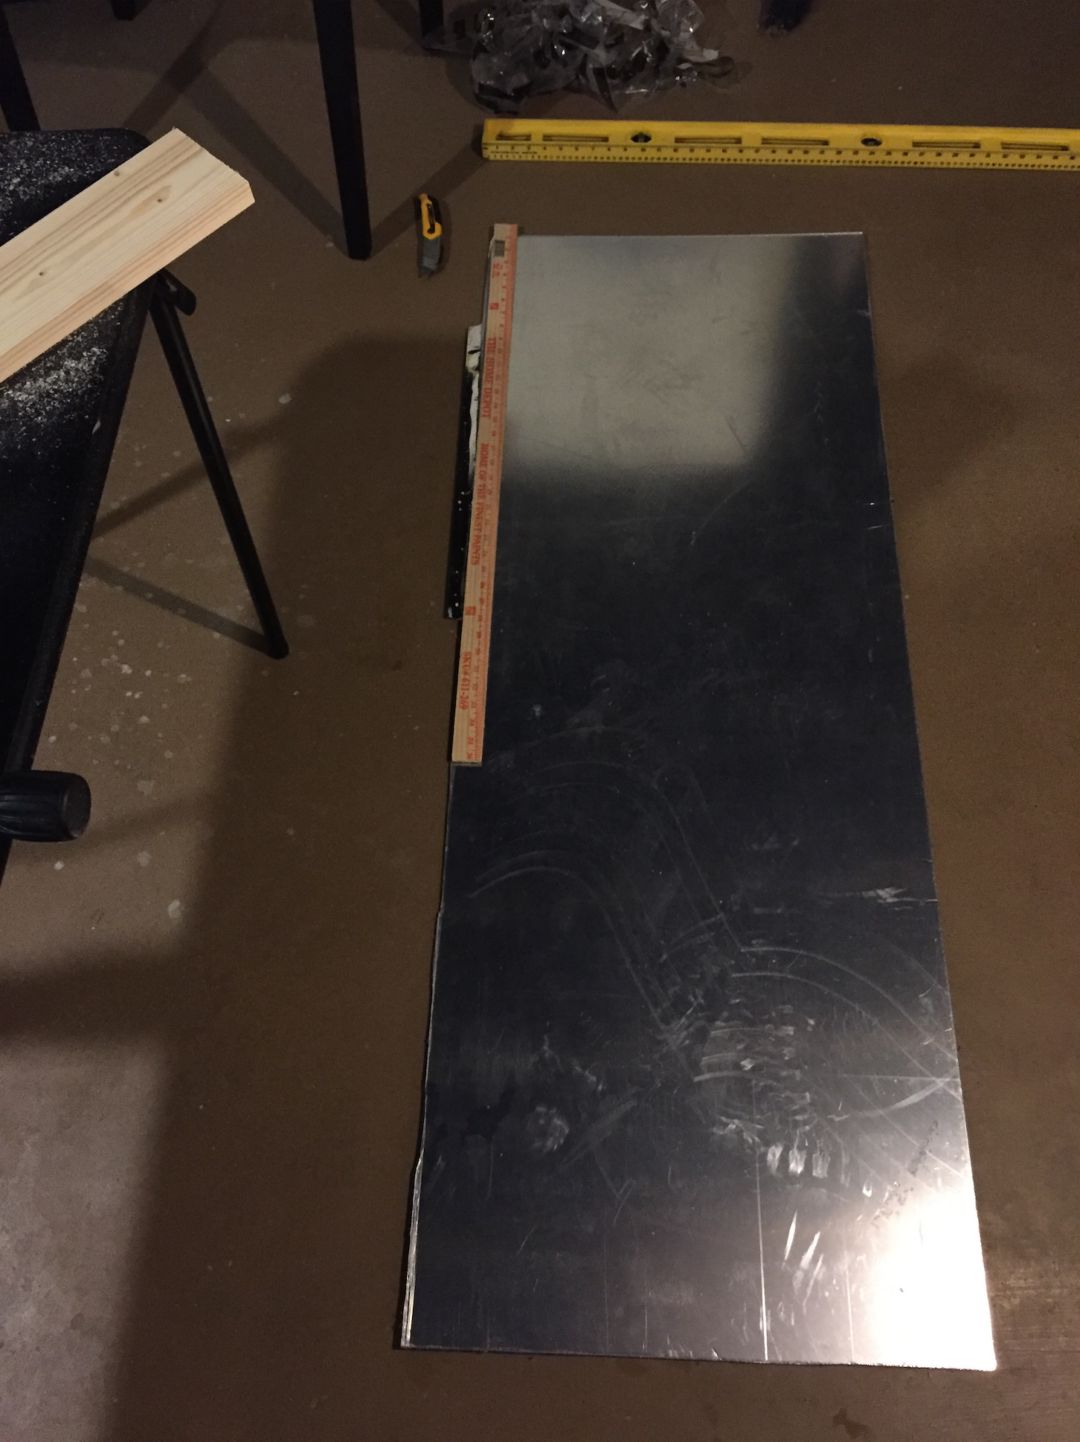
With the frame, Pi, and monitor ready to go, it was time to make the mirror. Early in the project, I had read that it was simple enough to make a two-way mirror with a piece of acrylic or polycarbonate and the correct film. Armed with film I bought from Amazon and polycarbonate I bought from Home Depot, I went to work.
It was tough keeping dust and hair from getting trapped between the polycarbonate and the film as I was working. Several times I had to undo a section just to pull out a single stray cat hair, then stretch and squeegee it all over again. Unfortunately, my hard work was for nought. Once everything was installed and stood up, it was easy to see that the film had ended up getting scratched, and the polycarbonate itself was flexing and warping in the frame. It looked like a fun-house mirror.
I decided to do it right and order a sheet of glass.
Step 5: Second Assembly
By pure chance, I met one of the co-owners of a Pittsburgh-based glass repair shop called Glass Doctor on the annual Pittsburgh Icicle Bicycle Ride.
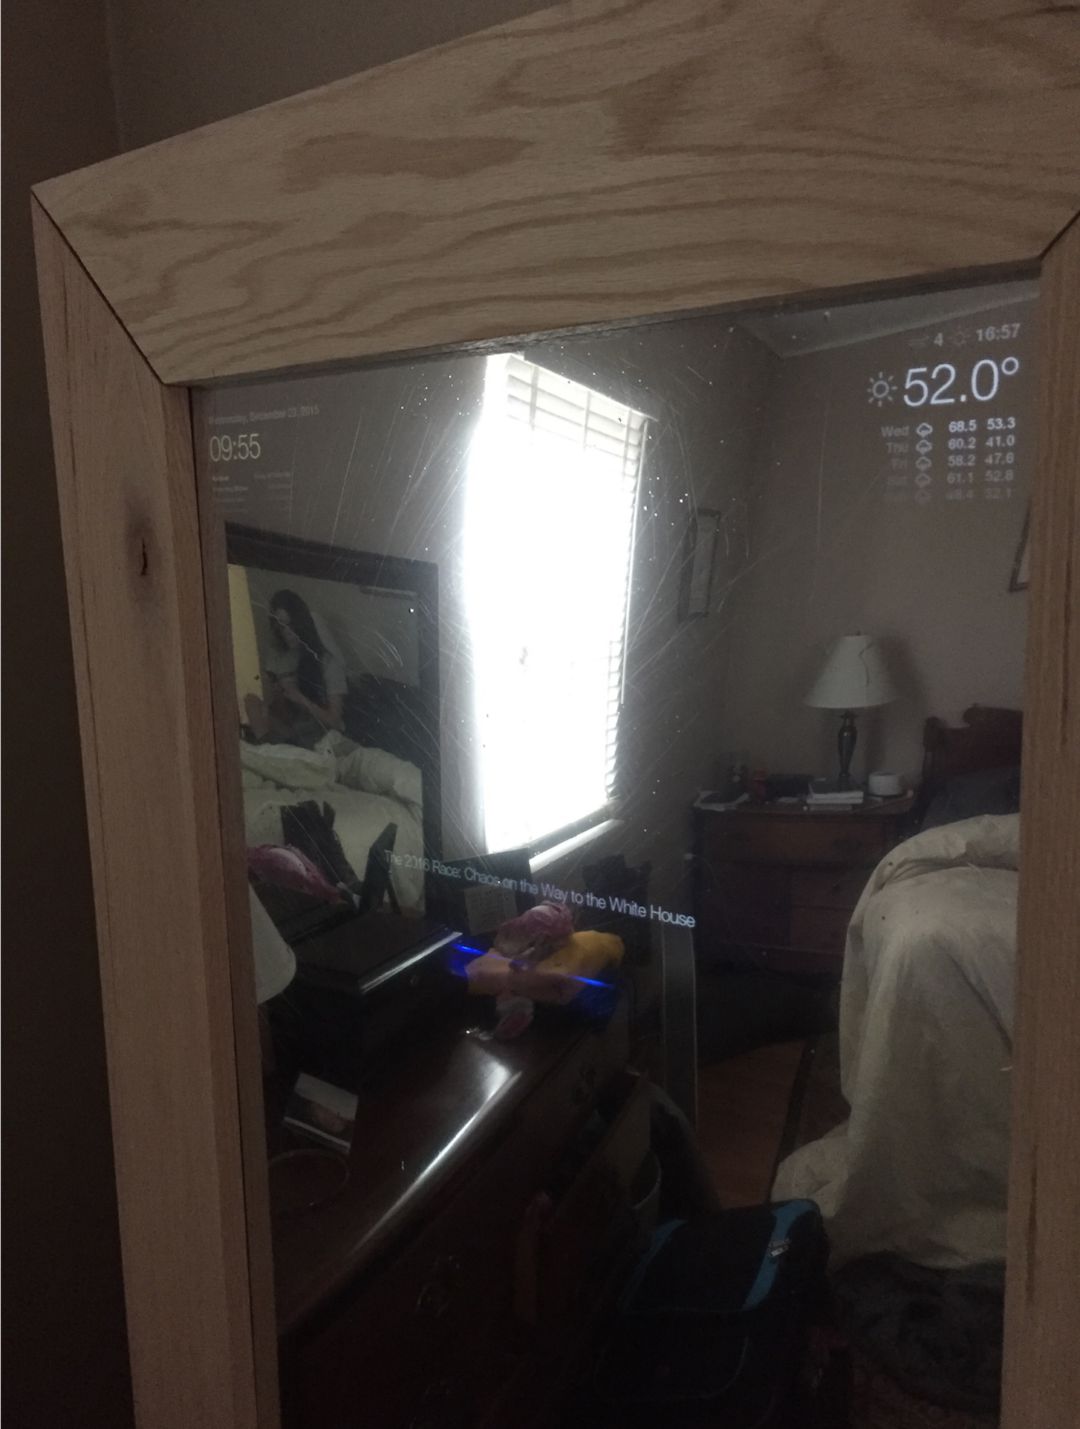
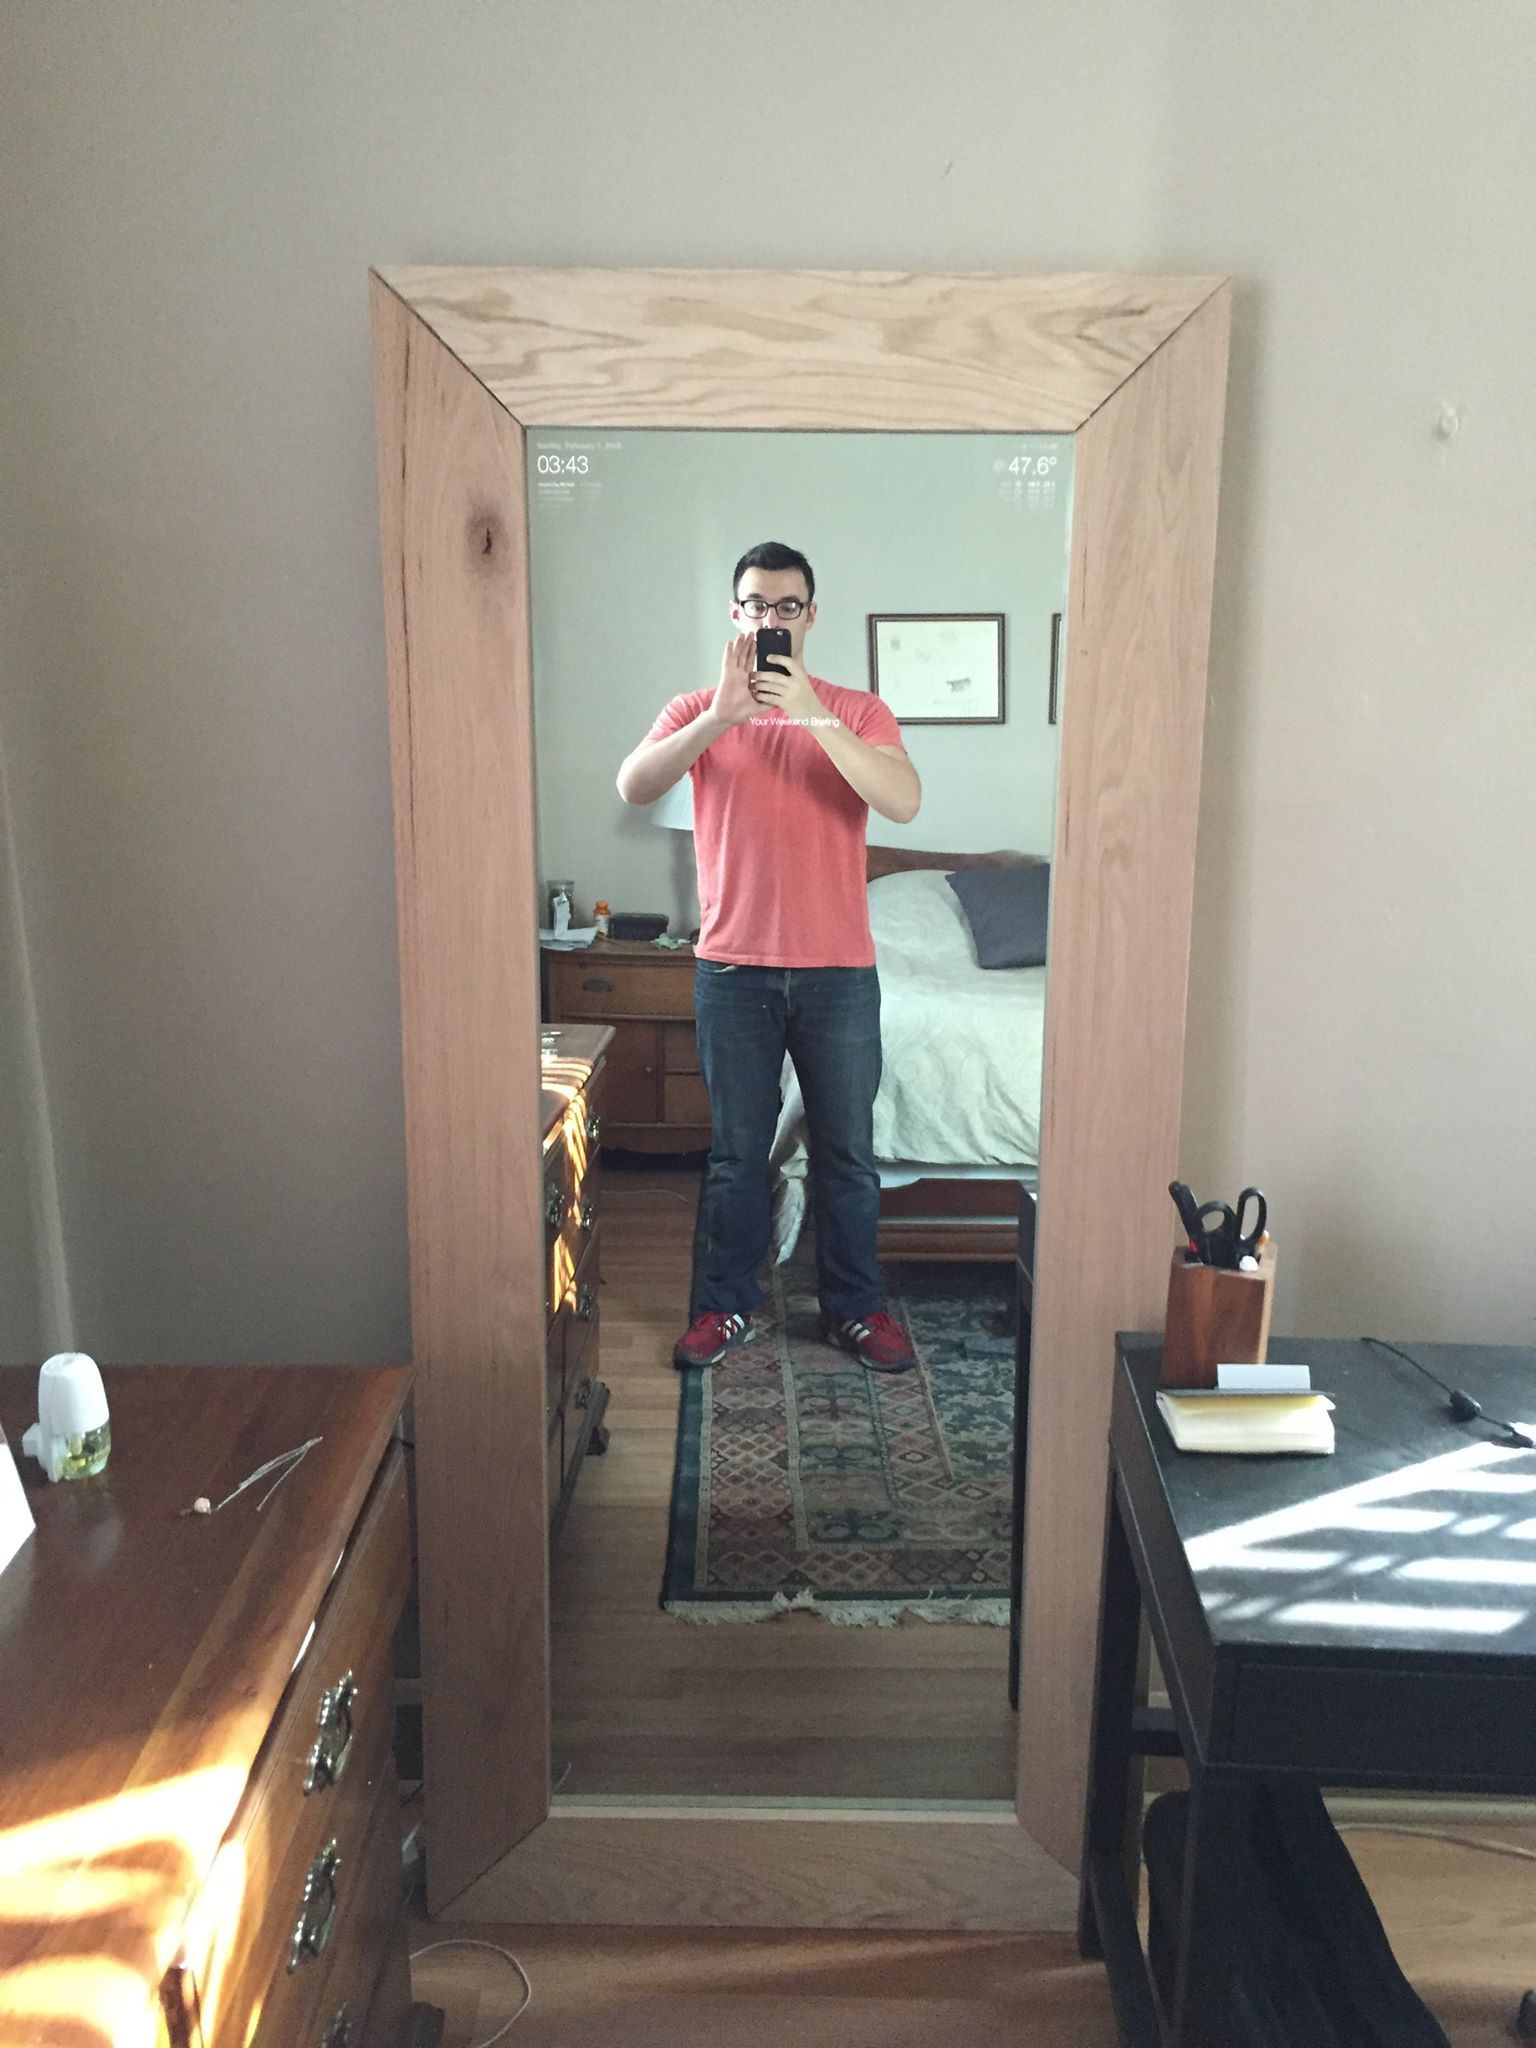
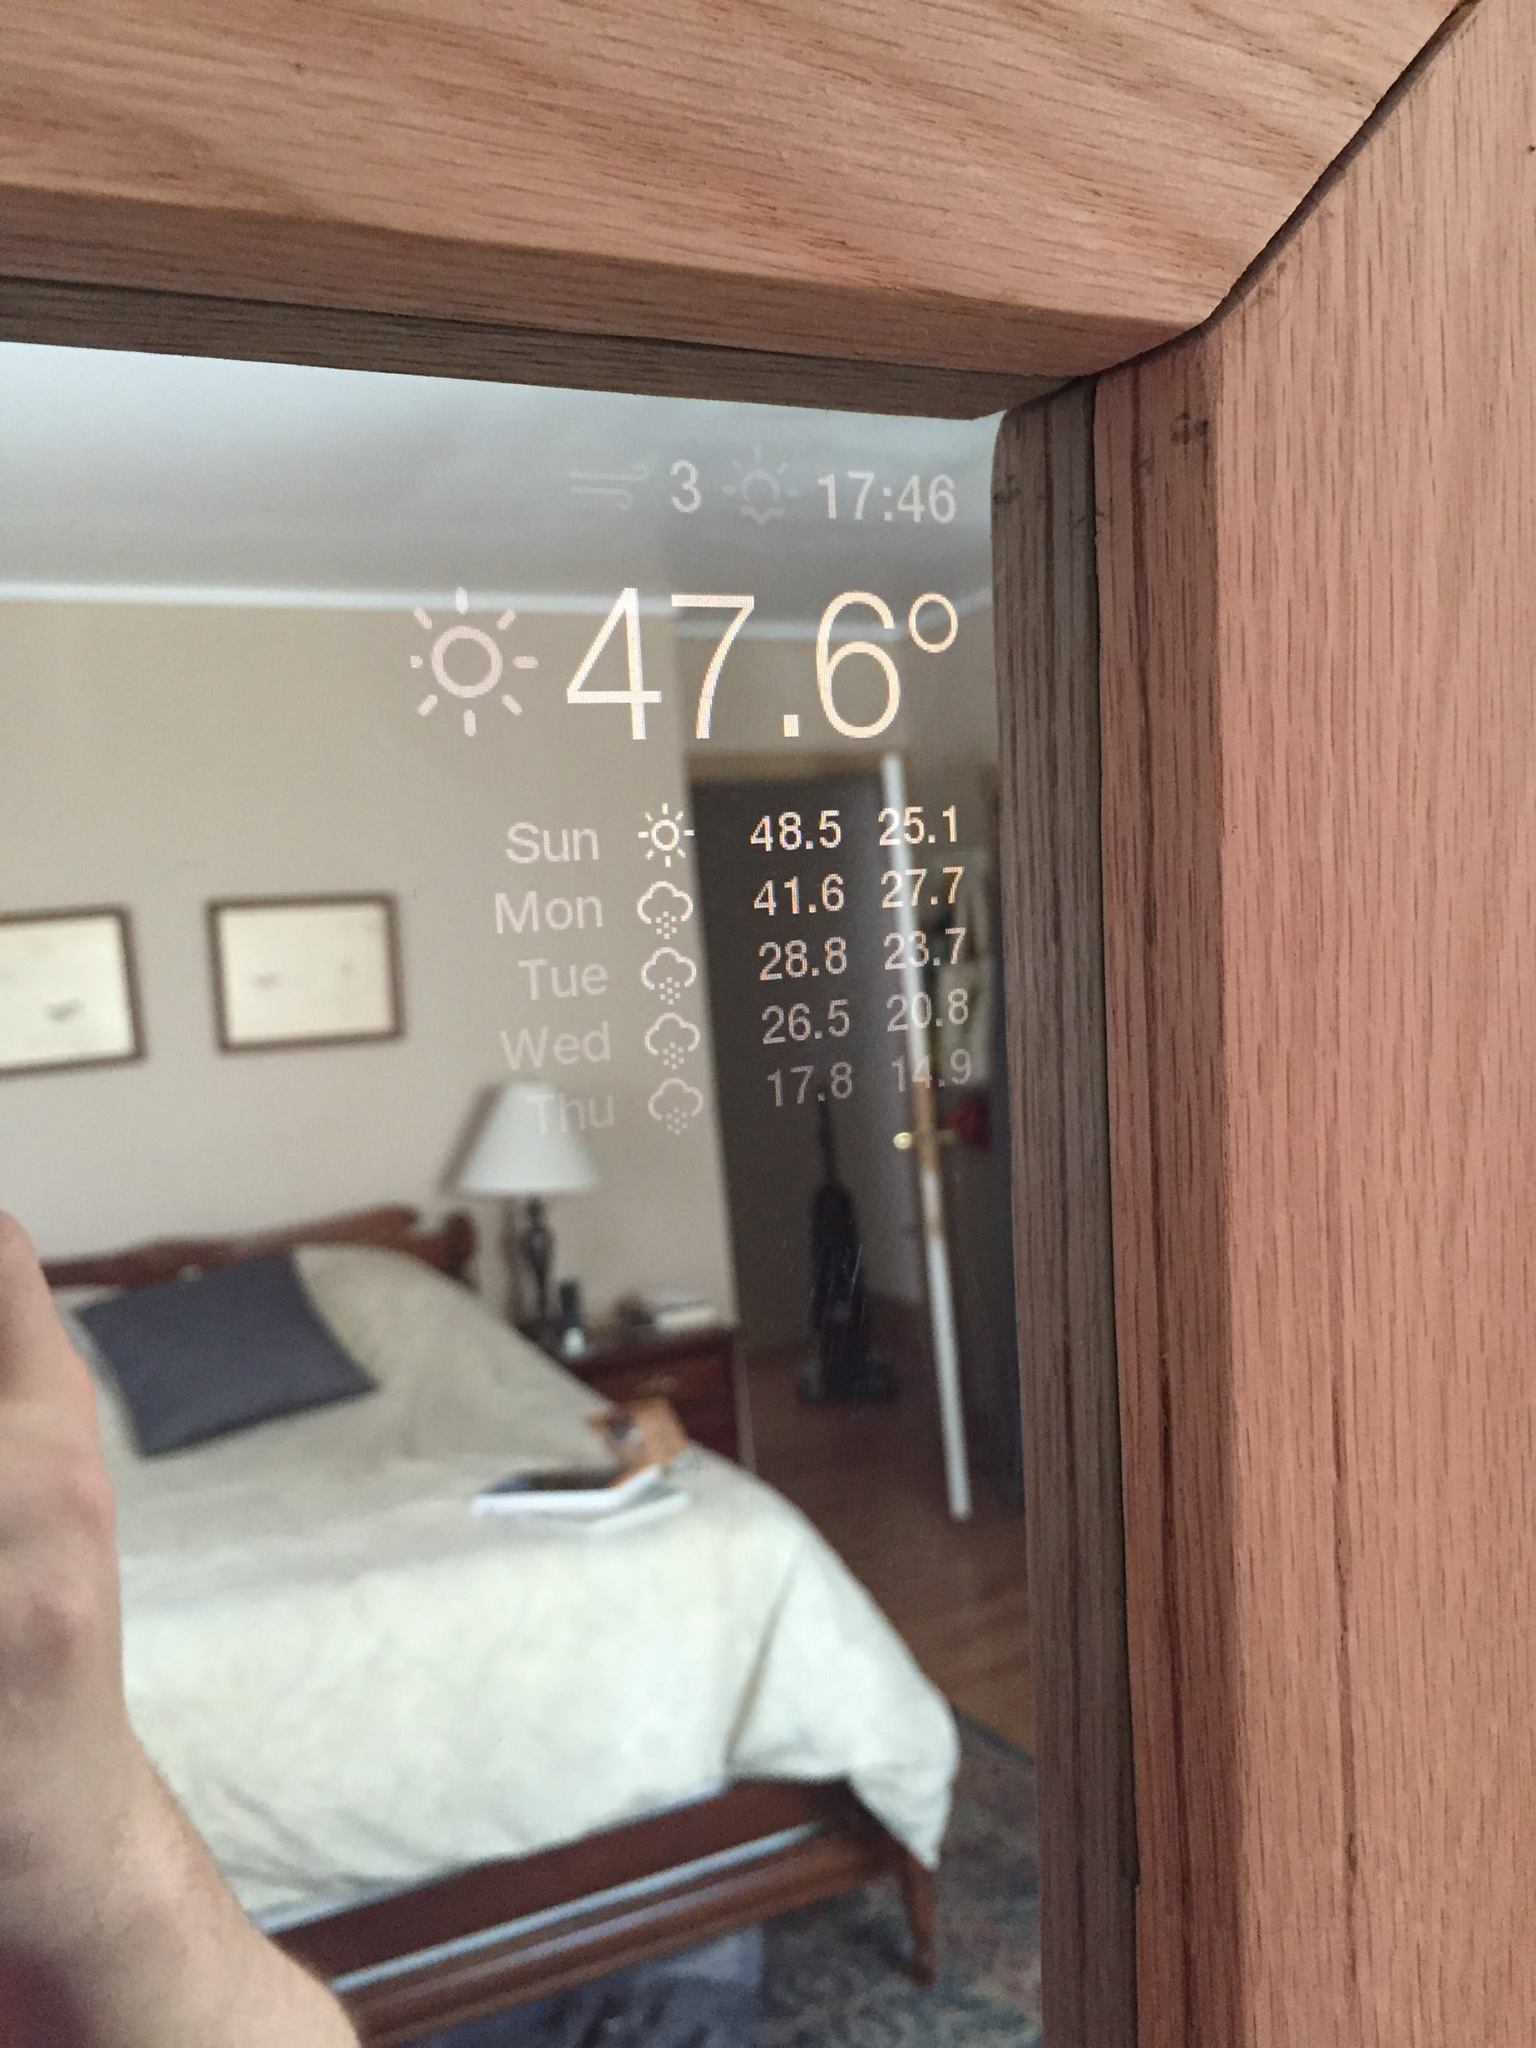
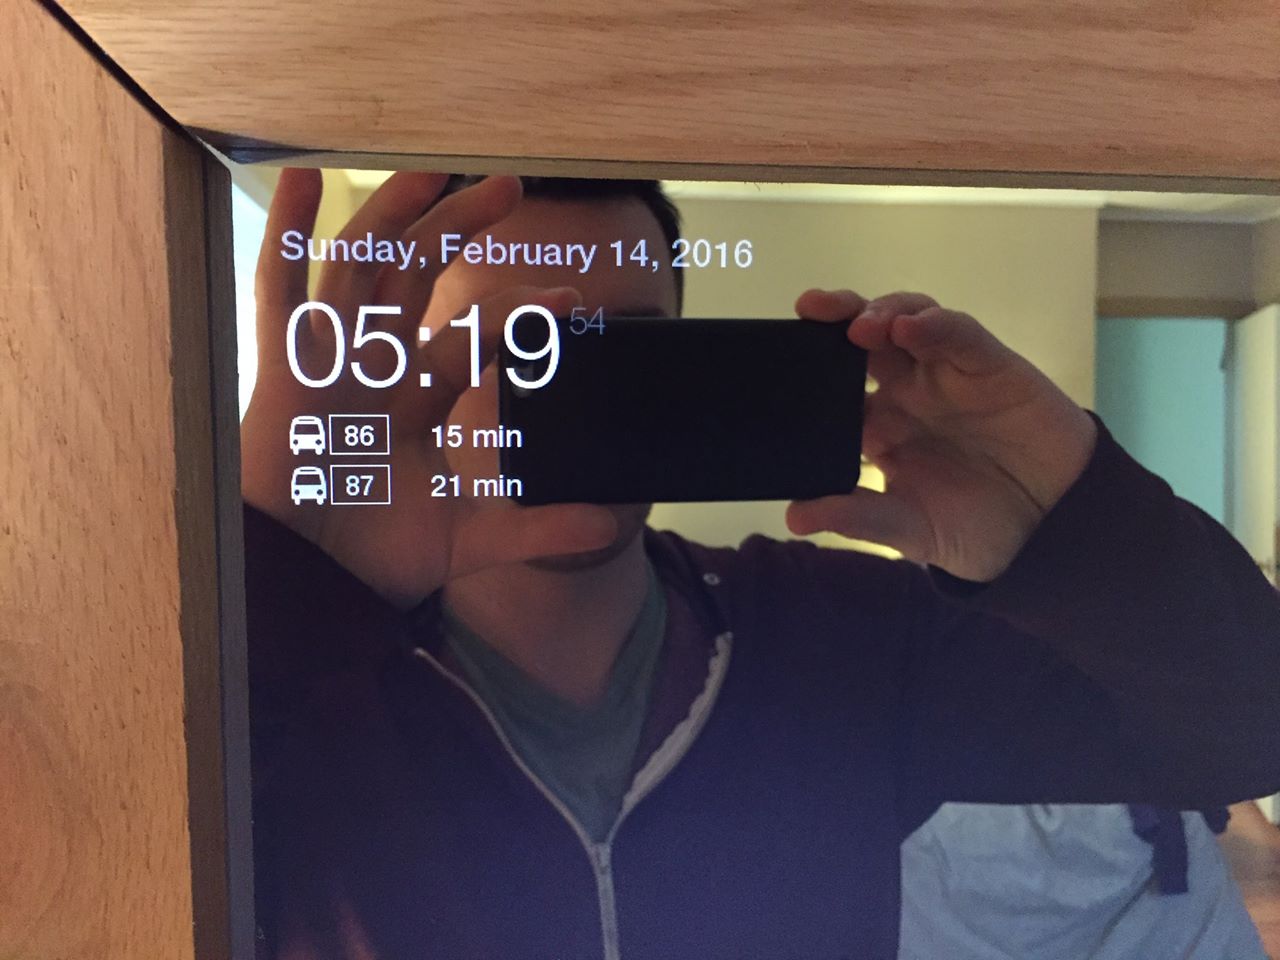
He hooked me up with the real deal - quarter-inch tempered glass with a professionally applied two-way film. The finished product speaks for itself:
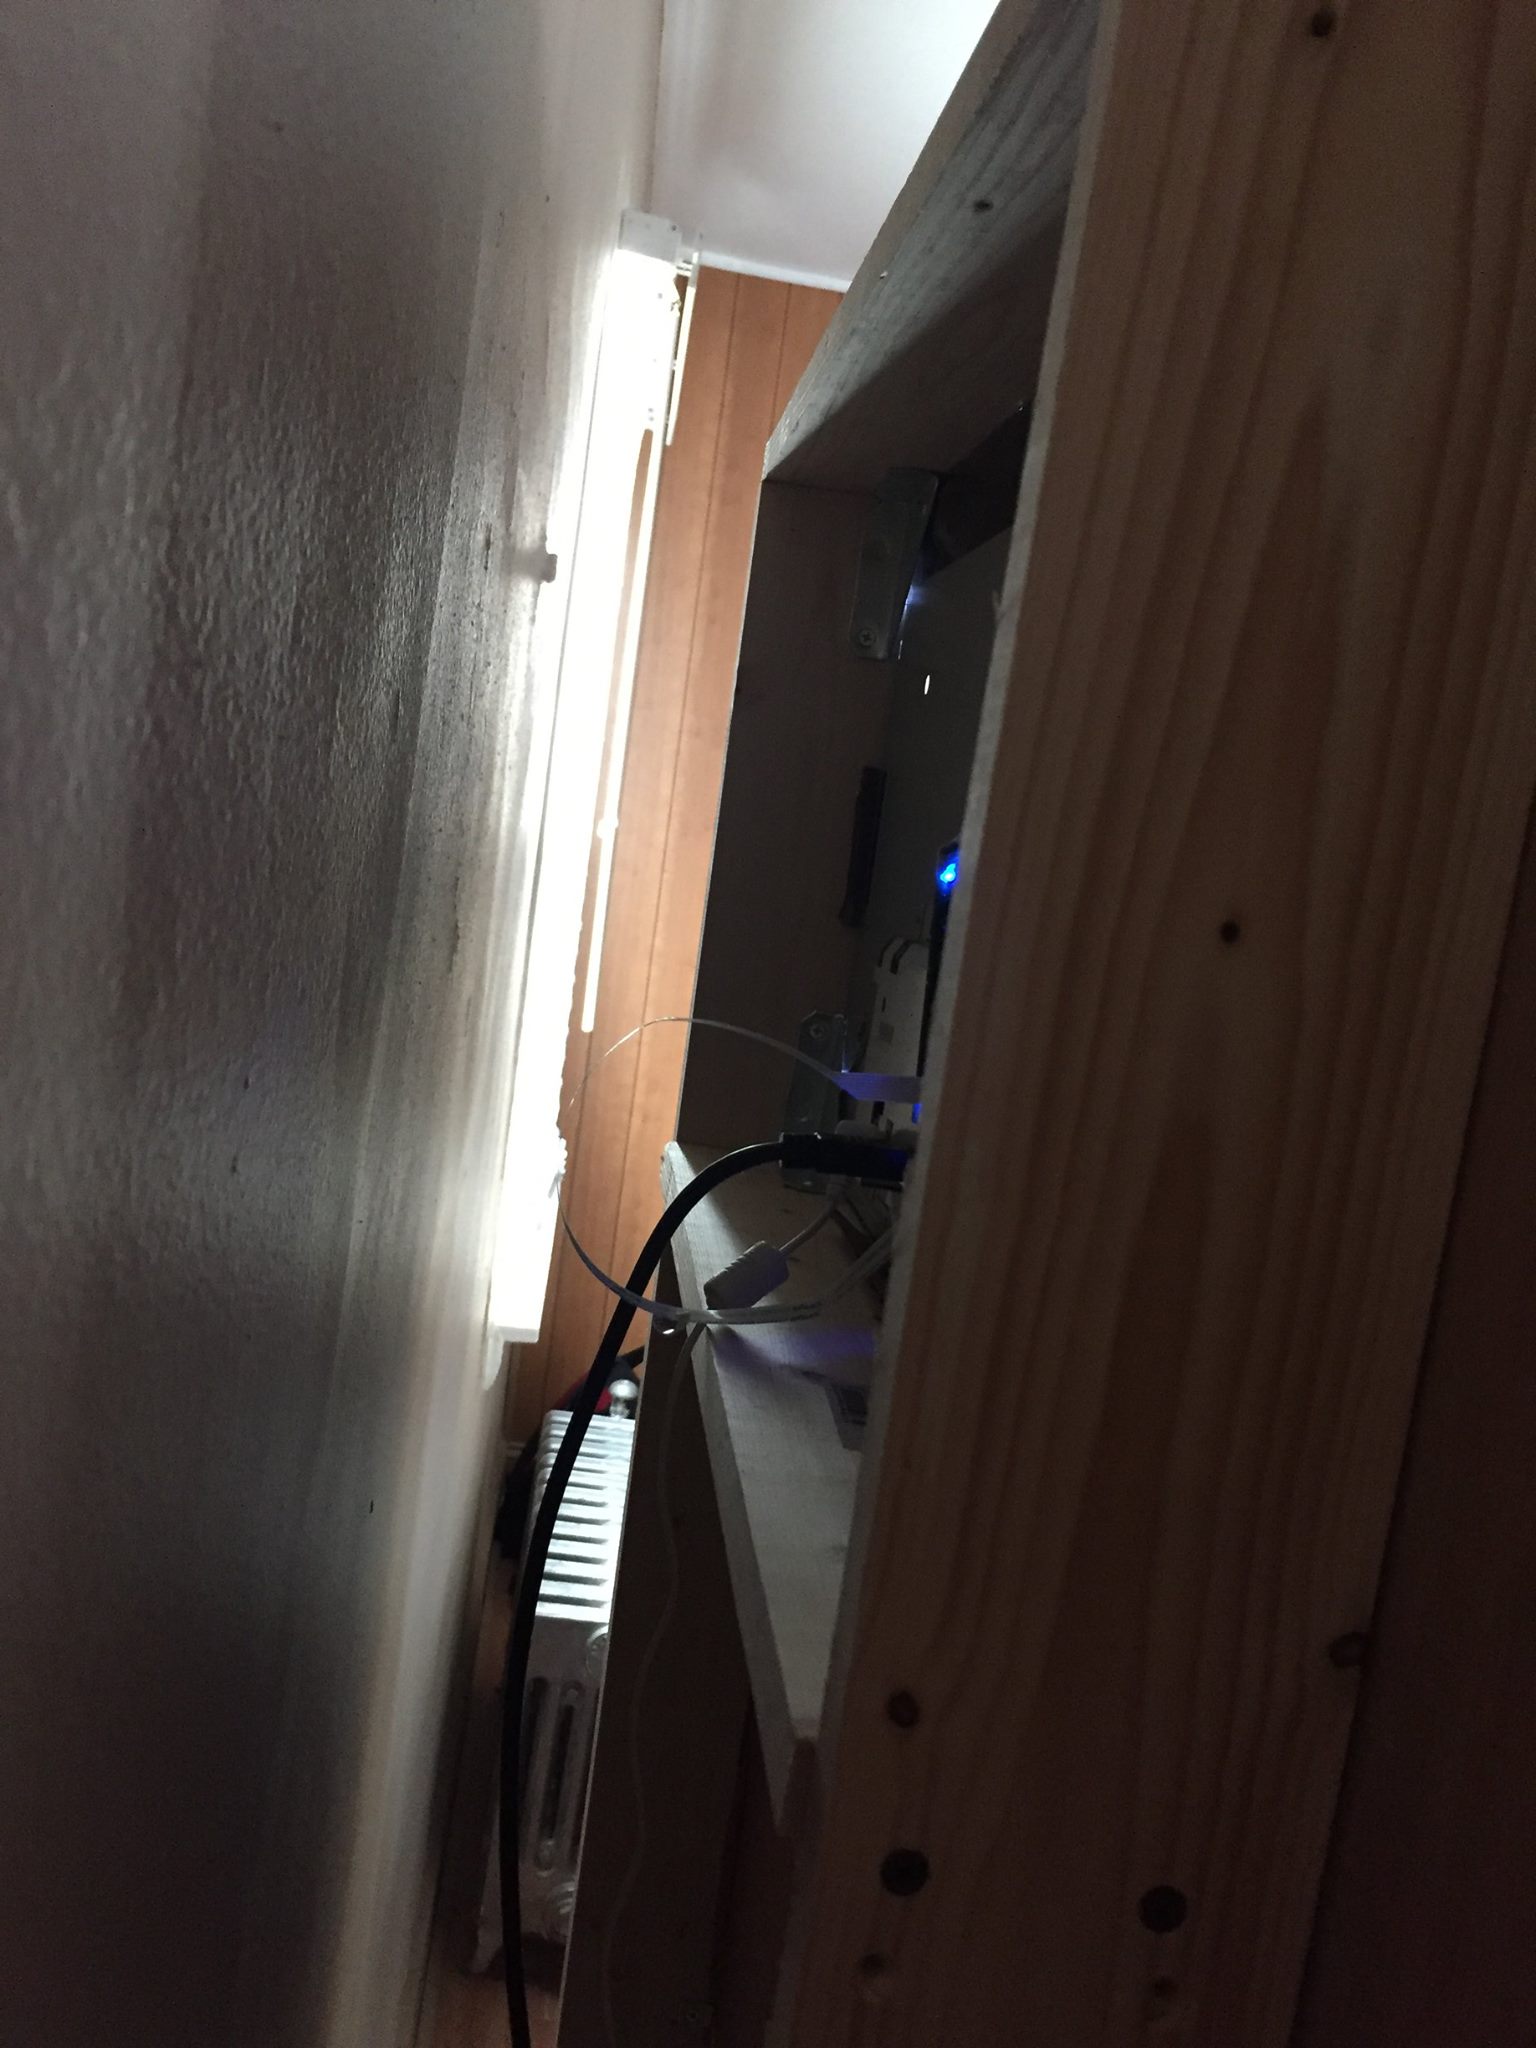
On the back, I've got the monitor pressed in place with corner braces. It's also supported by the 1"X4" crossbrace in the back. Currently, the Pi sits out on its own; eventually, it will be mounted on the rear frame, too. The power buttons from the old bezel are hanging loose, but will eventually be strapped down, too.
Steps 6 to ?: Tweaks
Once everything was put together, it wasn't long before I started adding extras. The first addition I made was to incorporate the estimated arrival times of incoming busses from the Port Authority of Pittsburgh's realtime tracking API. The giftee takes the bus in the morning (when I can't be plied for a ride), and knowing when the next one is pulling in can be a lifesaver.
I also added a small map with traffic information using the Google Maps JavaScript API, so I could get an at-a-glance idea of what my commute will look like. I'm planning on nixing that, though, since my commute is mostly off the beaten path and traffic rarely factors into my morning. Instead, I'm planning on adding cycling-related data: did it rain or snow overnight, will it rain or snow during commuting hours, and the temperature differential between the morning and evening commutes. All of this is invaluable knowledge for the commuting cyclist.
As time goes on, I plan on extending the functionality of the mirror even further; I've already decided to add a motion sensor and relay for managing power to the screen more effectively, and I'm considering adding facial recognition capabilities. I'm also really looking forward to staining the frame!
If you're interested in the code for this project, I'd recommend starting with Michael Teeuw's original project. If you'd like to use my code, you can grab my fork here, but be warned, support will be minimal.
